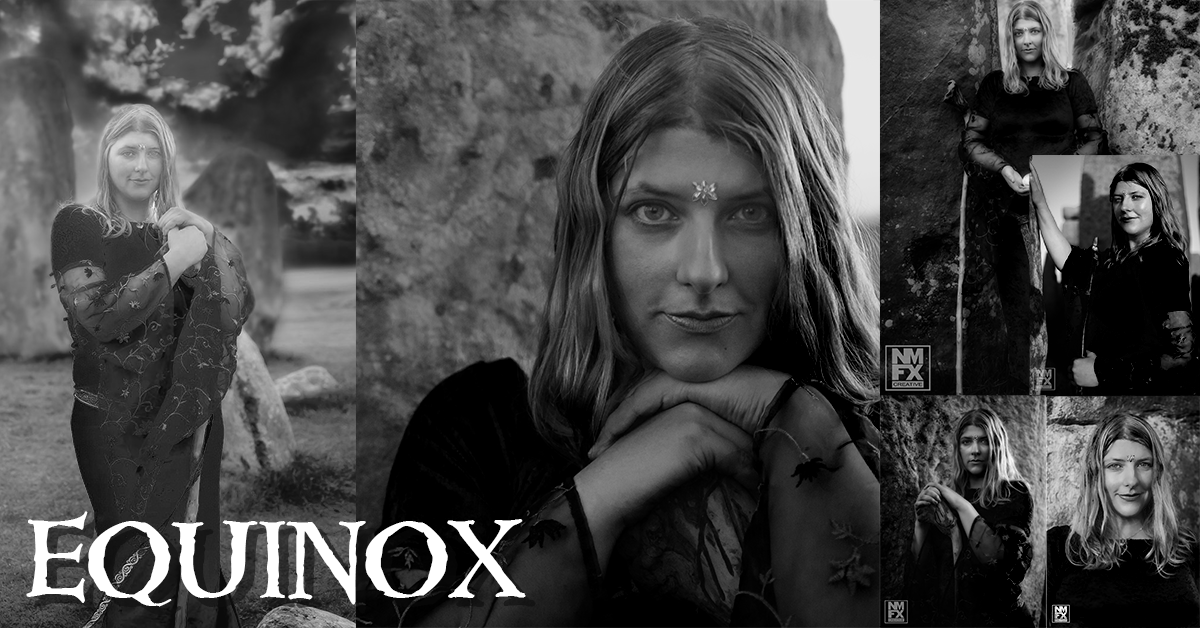
Equinox - Behind The Scenes
Equipment
Nikon D7000 Camera
Nikor 35mm 1:8 prime lens
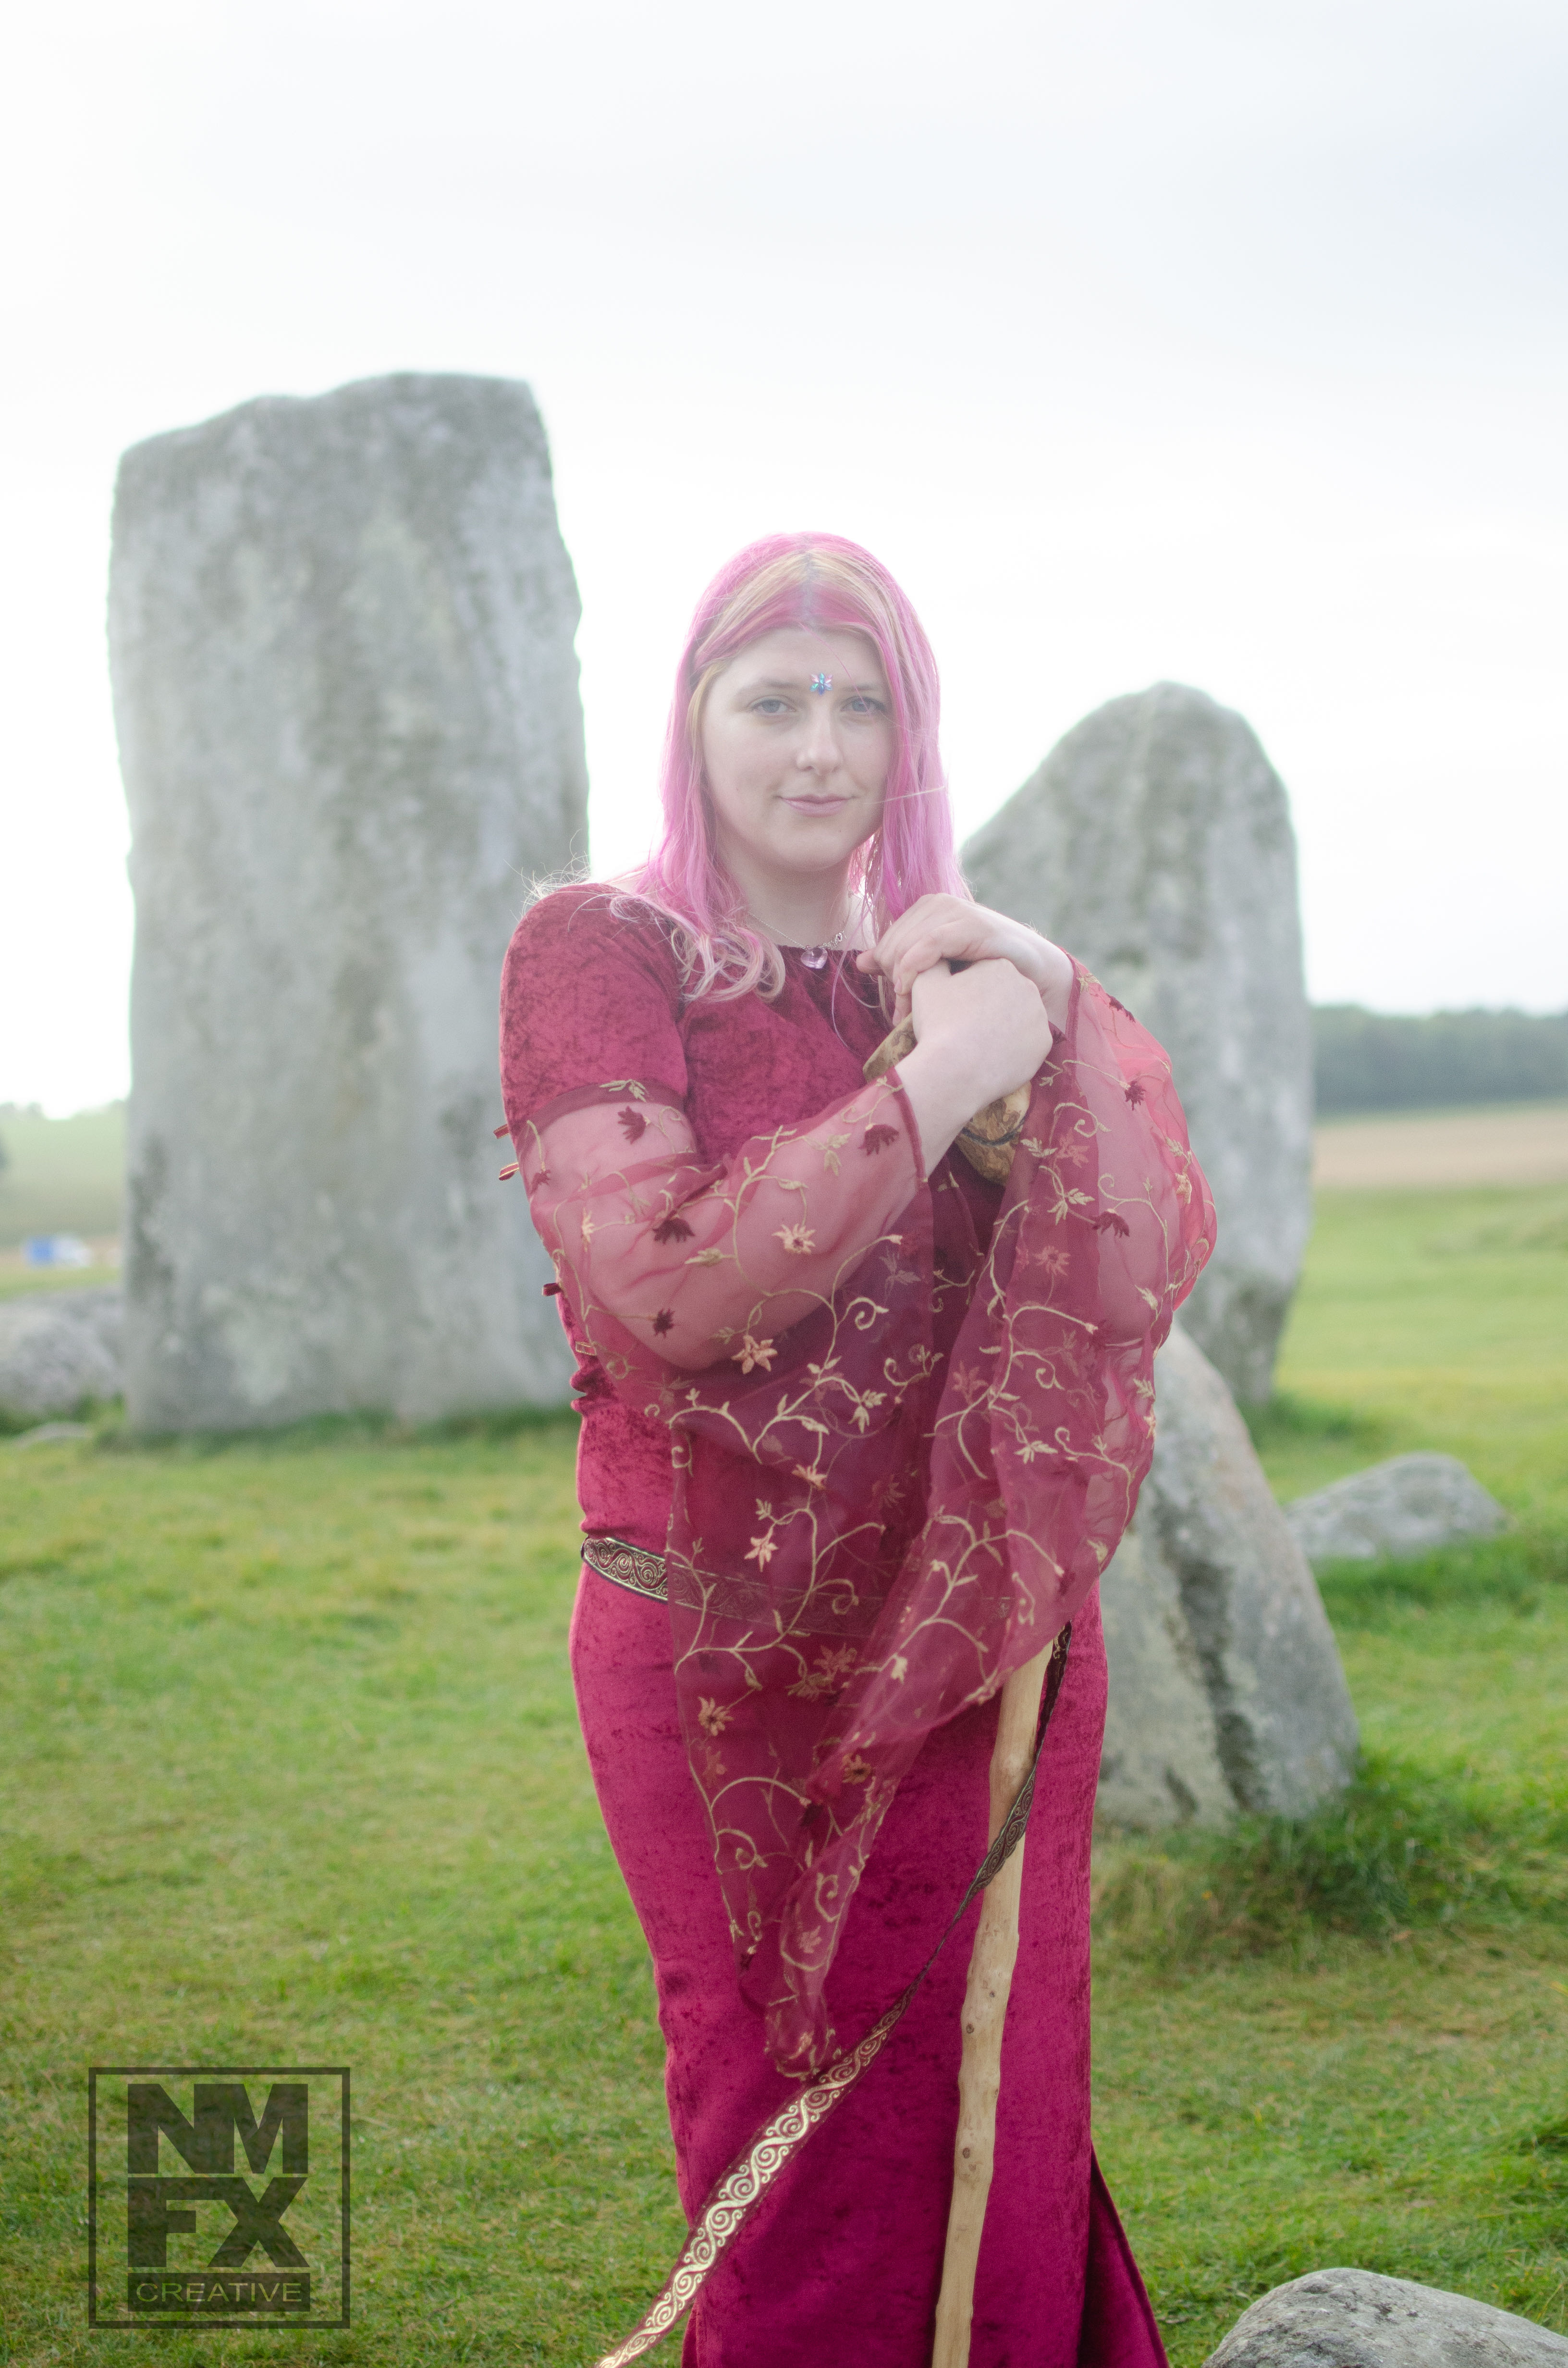
Deciding to take advantage of a trip to Stonehenge to celebrate the autumn Equinox and witth direct access into the stone circle that have stood in place for over 5000 years was too good an opportunity to miss. Arriving around 30mins before the sun was due to make it’s first appearance at 6:50 to a chilly but very clear morning we started to set up. There were a lot less people than at other events during the year and we wanted to make the most of it.
I was going to be shooting handheld so the exposure was set for 1/2000 as it was still somewhat dark and ƒ / 1.8 as I wanted quite a shallow depth of field. I wasn’t worried about losing the highlights as I knew I could recover things in post editing.
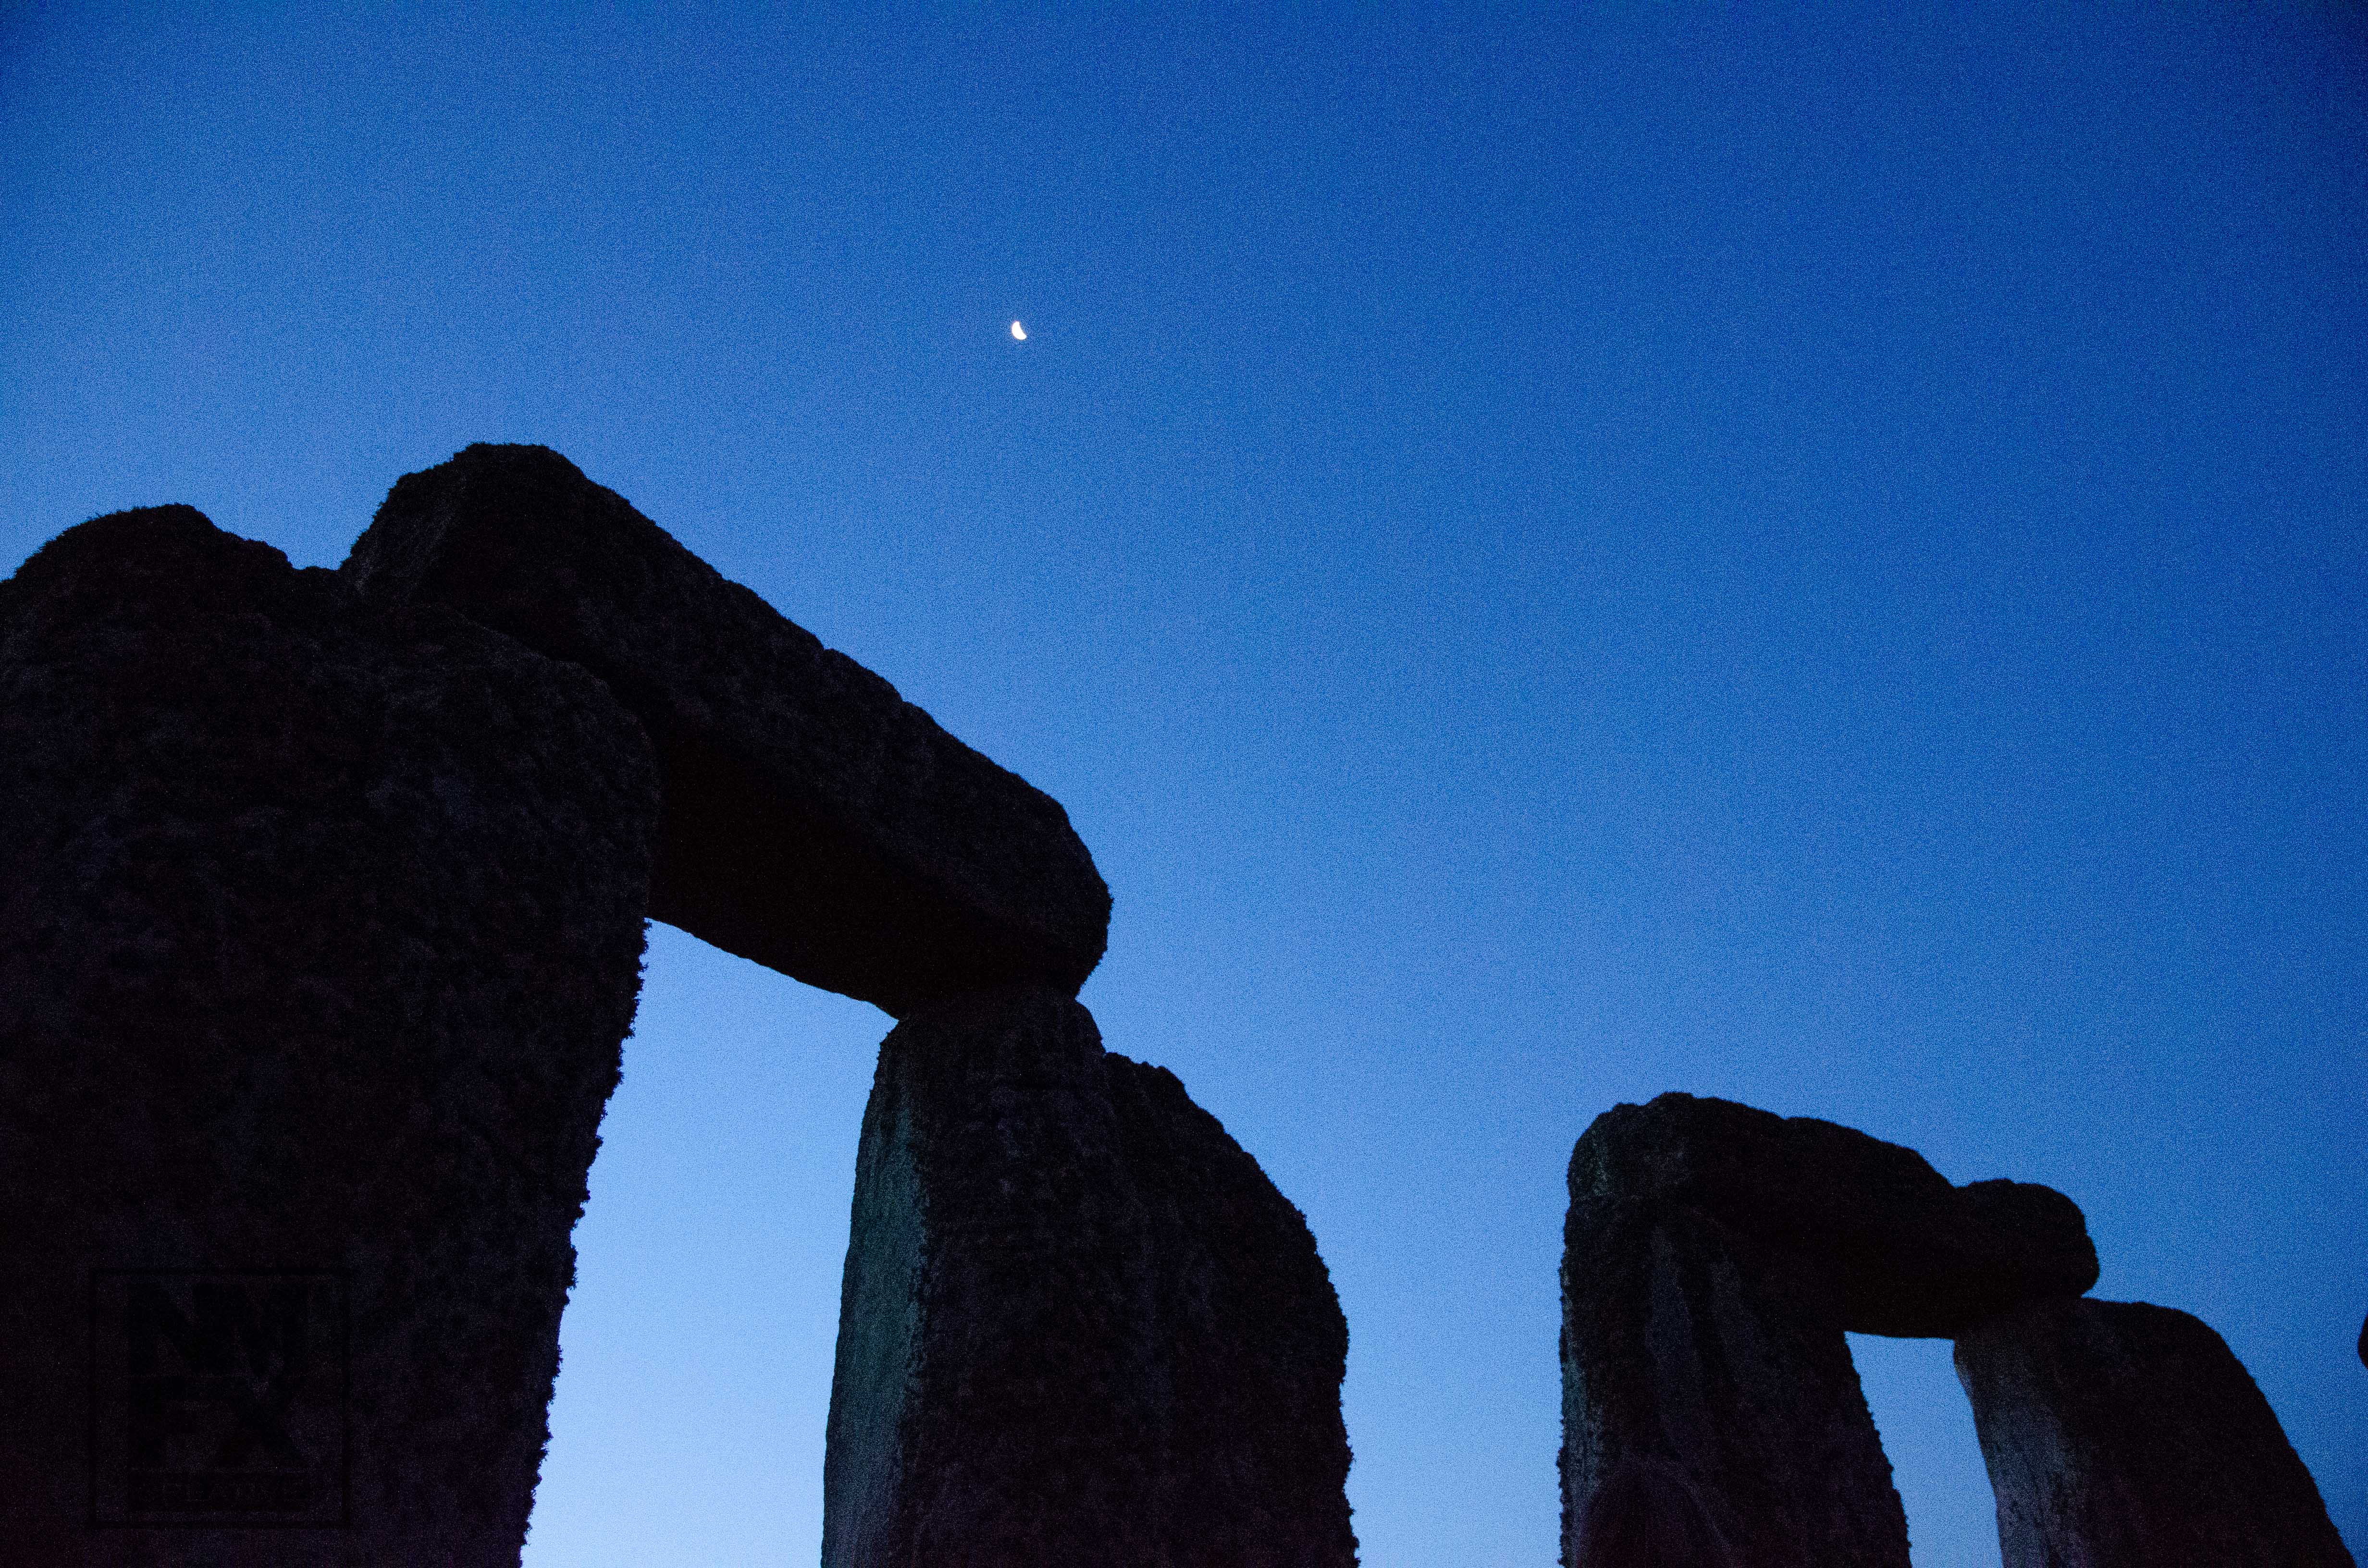


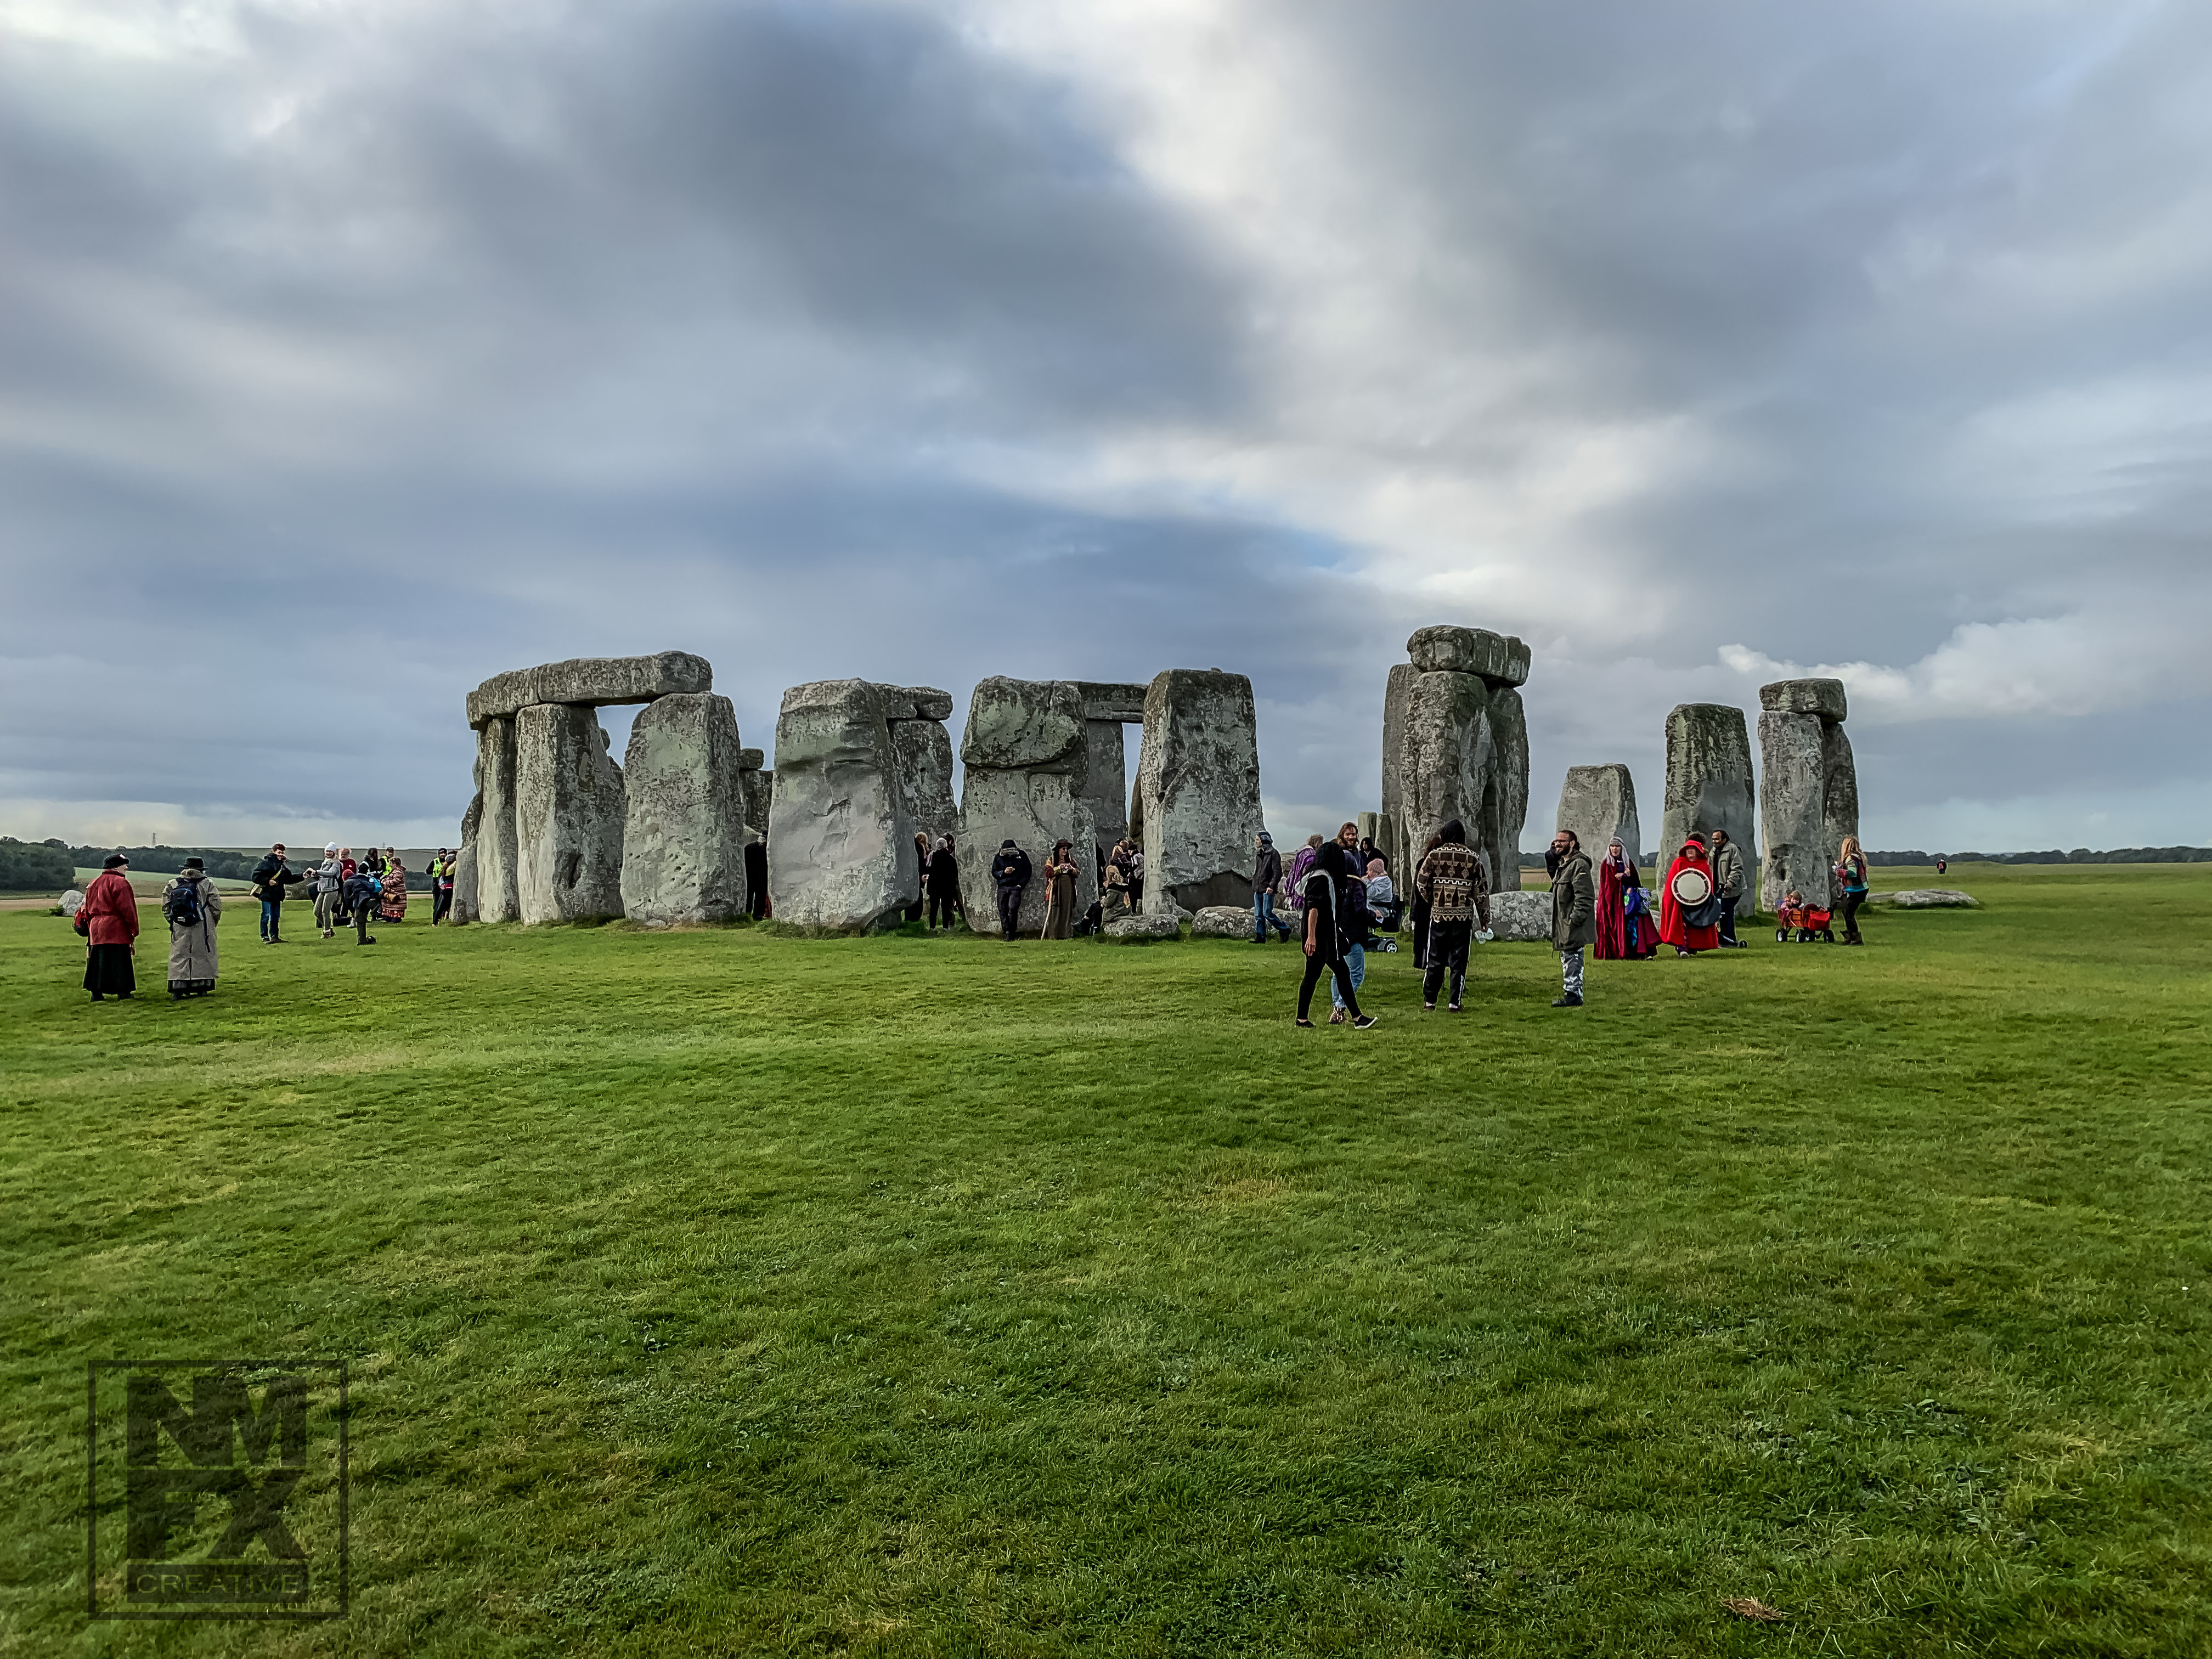
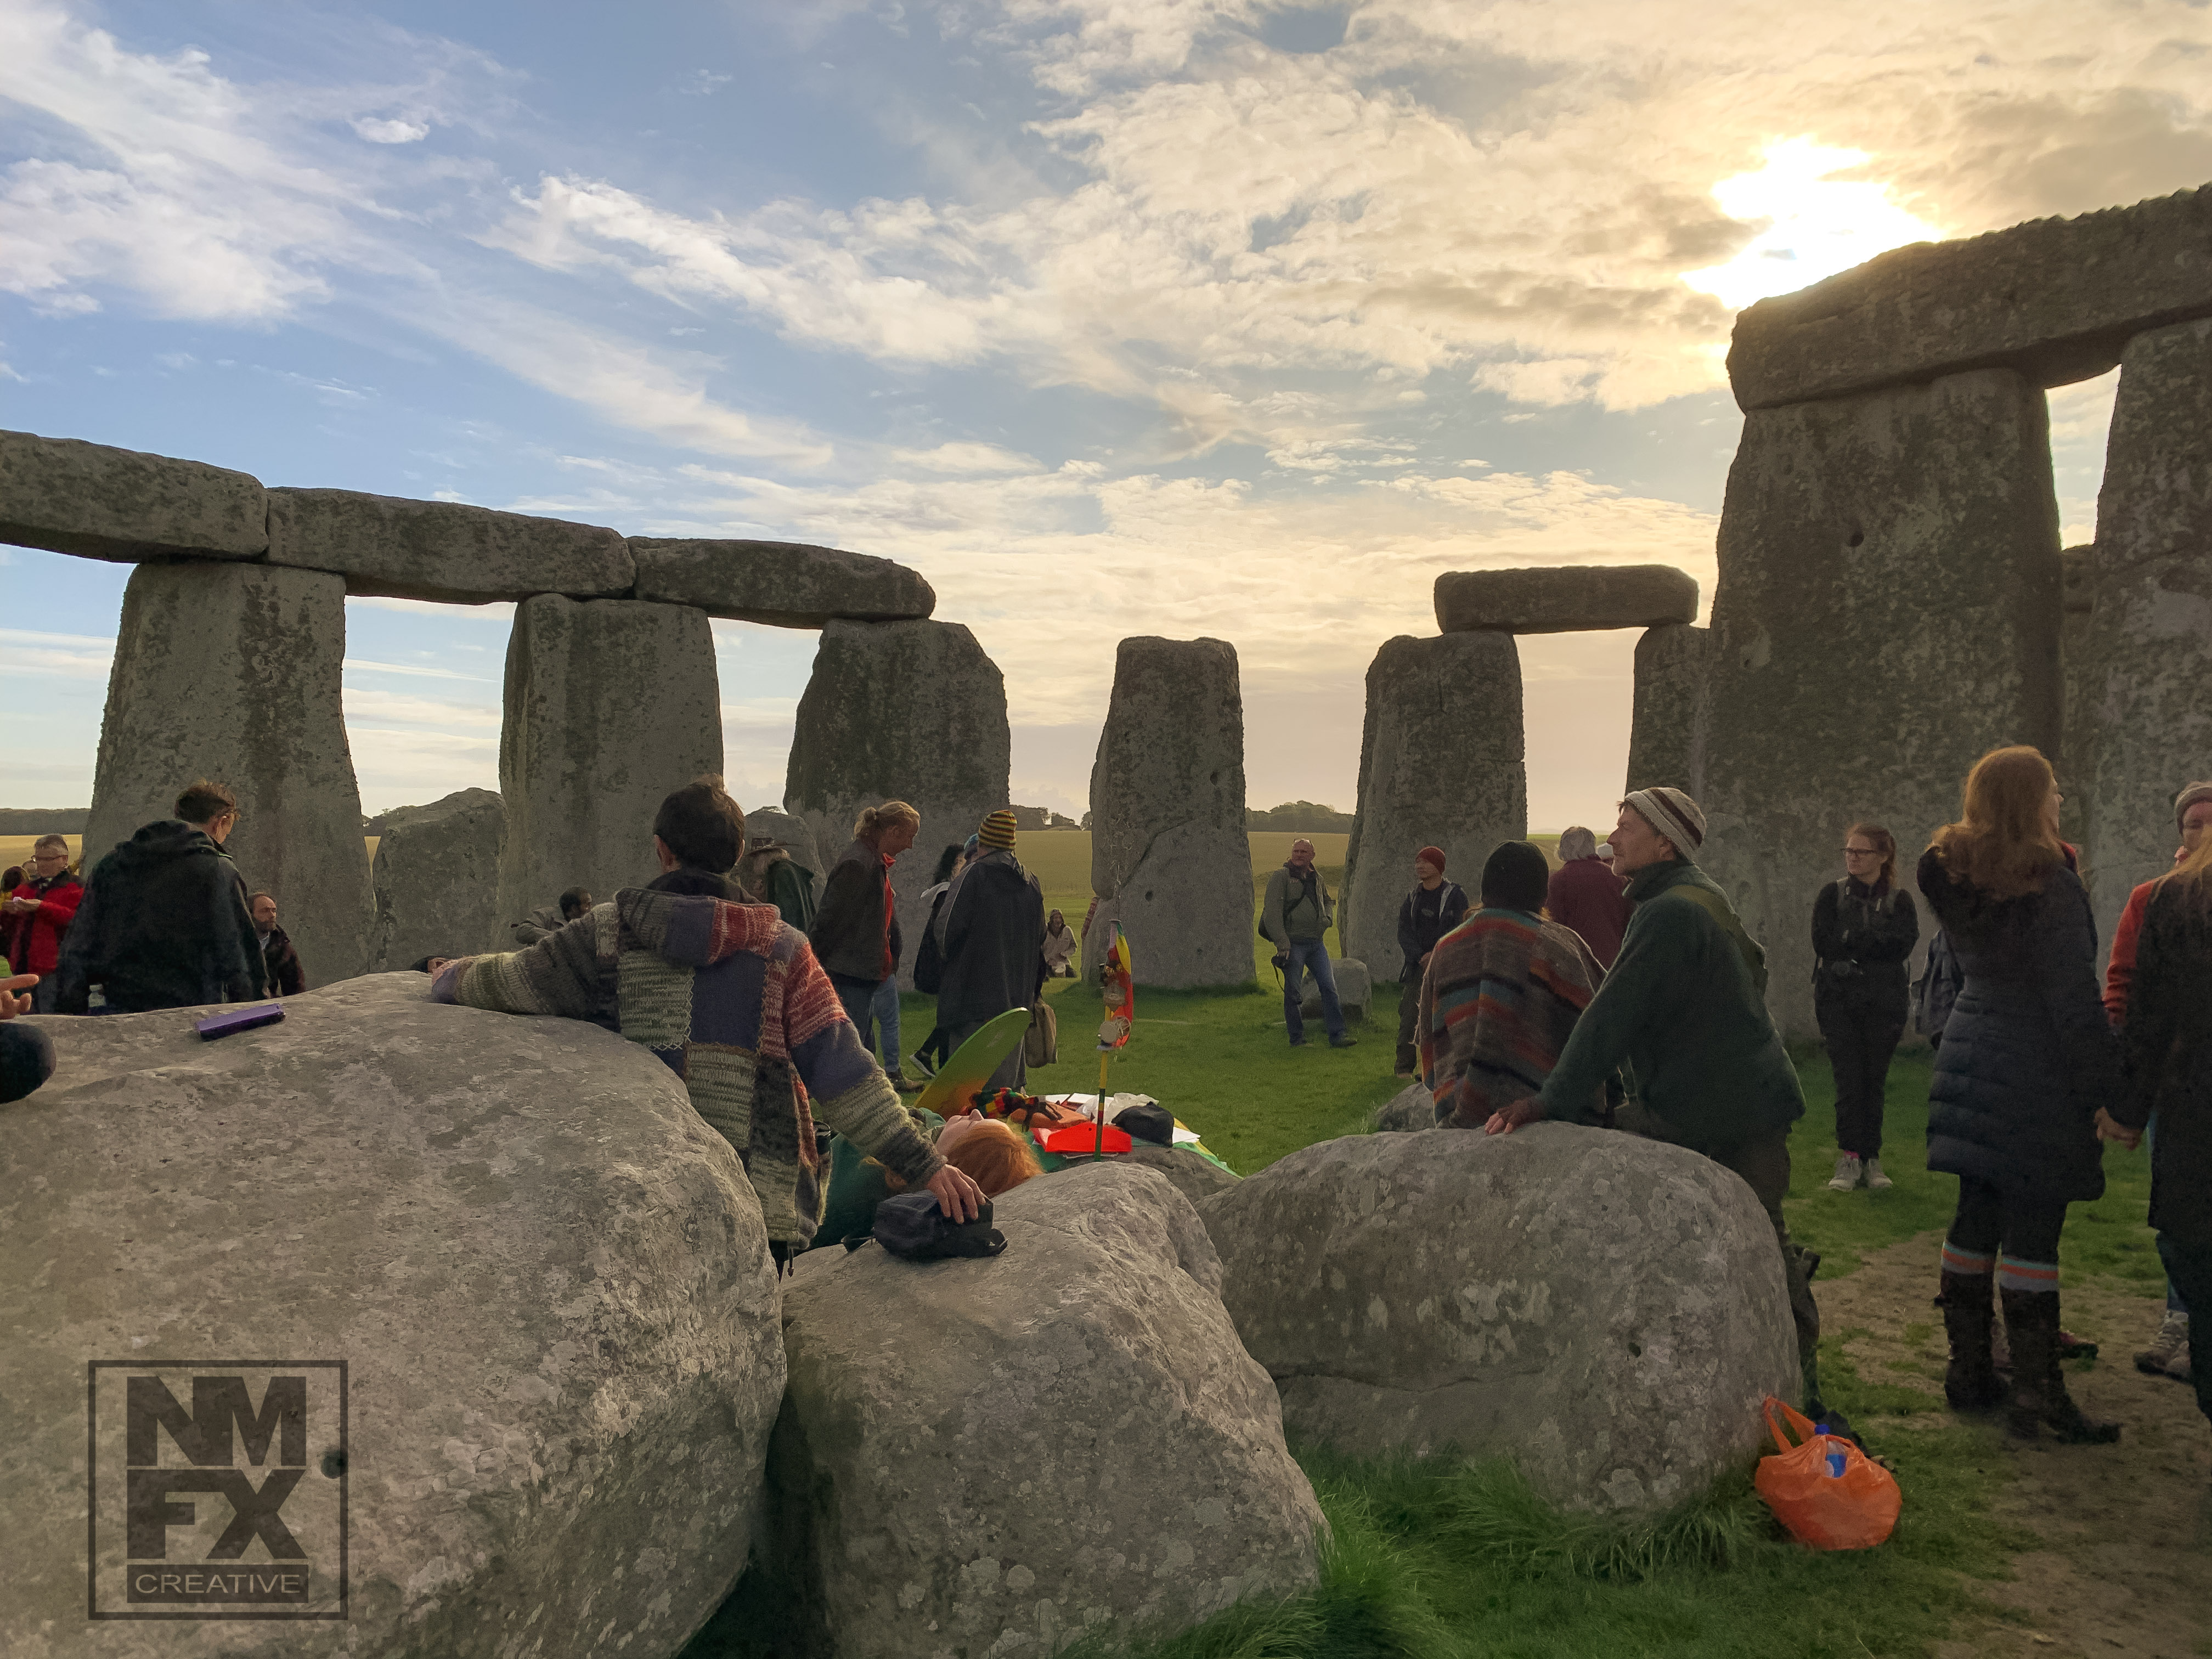

The sunrise was truly wonderful but posed several techniacl challenges in capturing it not least was how short the duration was when the Sun was rising over the distant horizon.
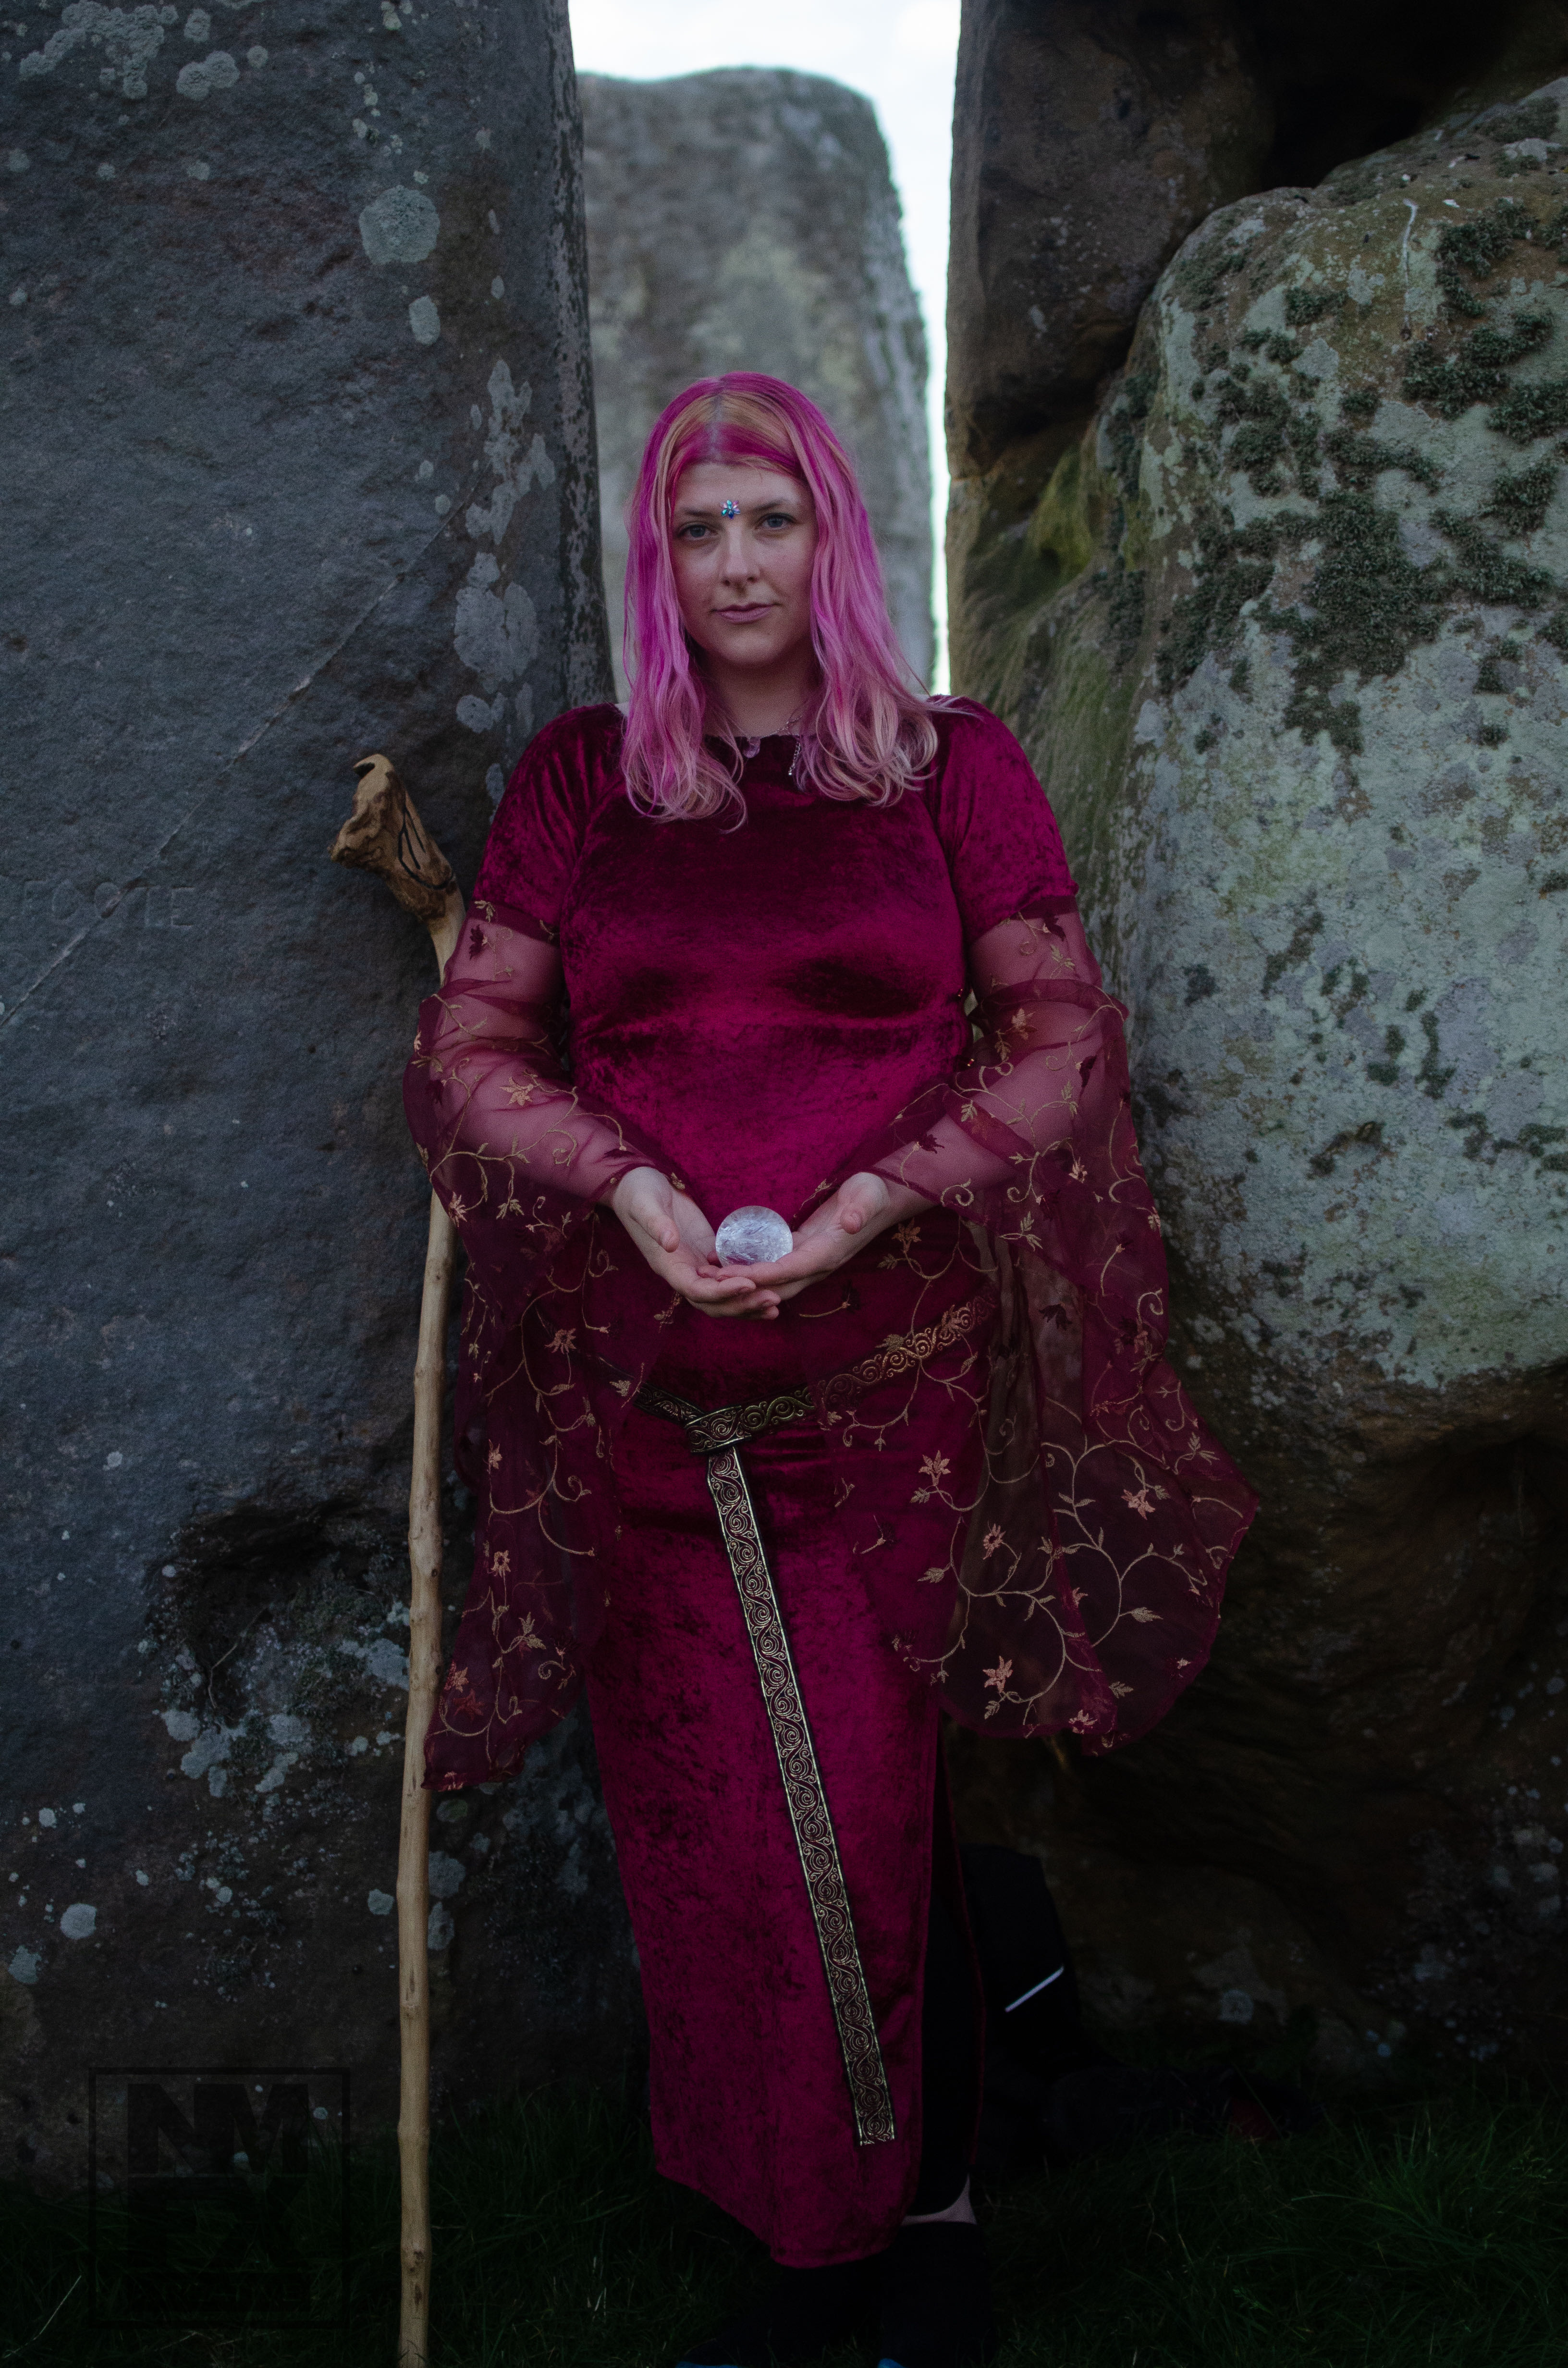
Once the day was fully underway and the sun continuing to rise we moved around the mystical grove of stones looking for the best positions where we could get the poses we wanted.
Having the freedom on such a remarkable day resultted in some images I was very pleased with.
As is often the case when taking digital photos the hard decision would be choosing which images to take forward and develop for this series.
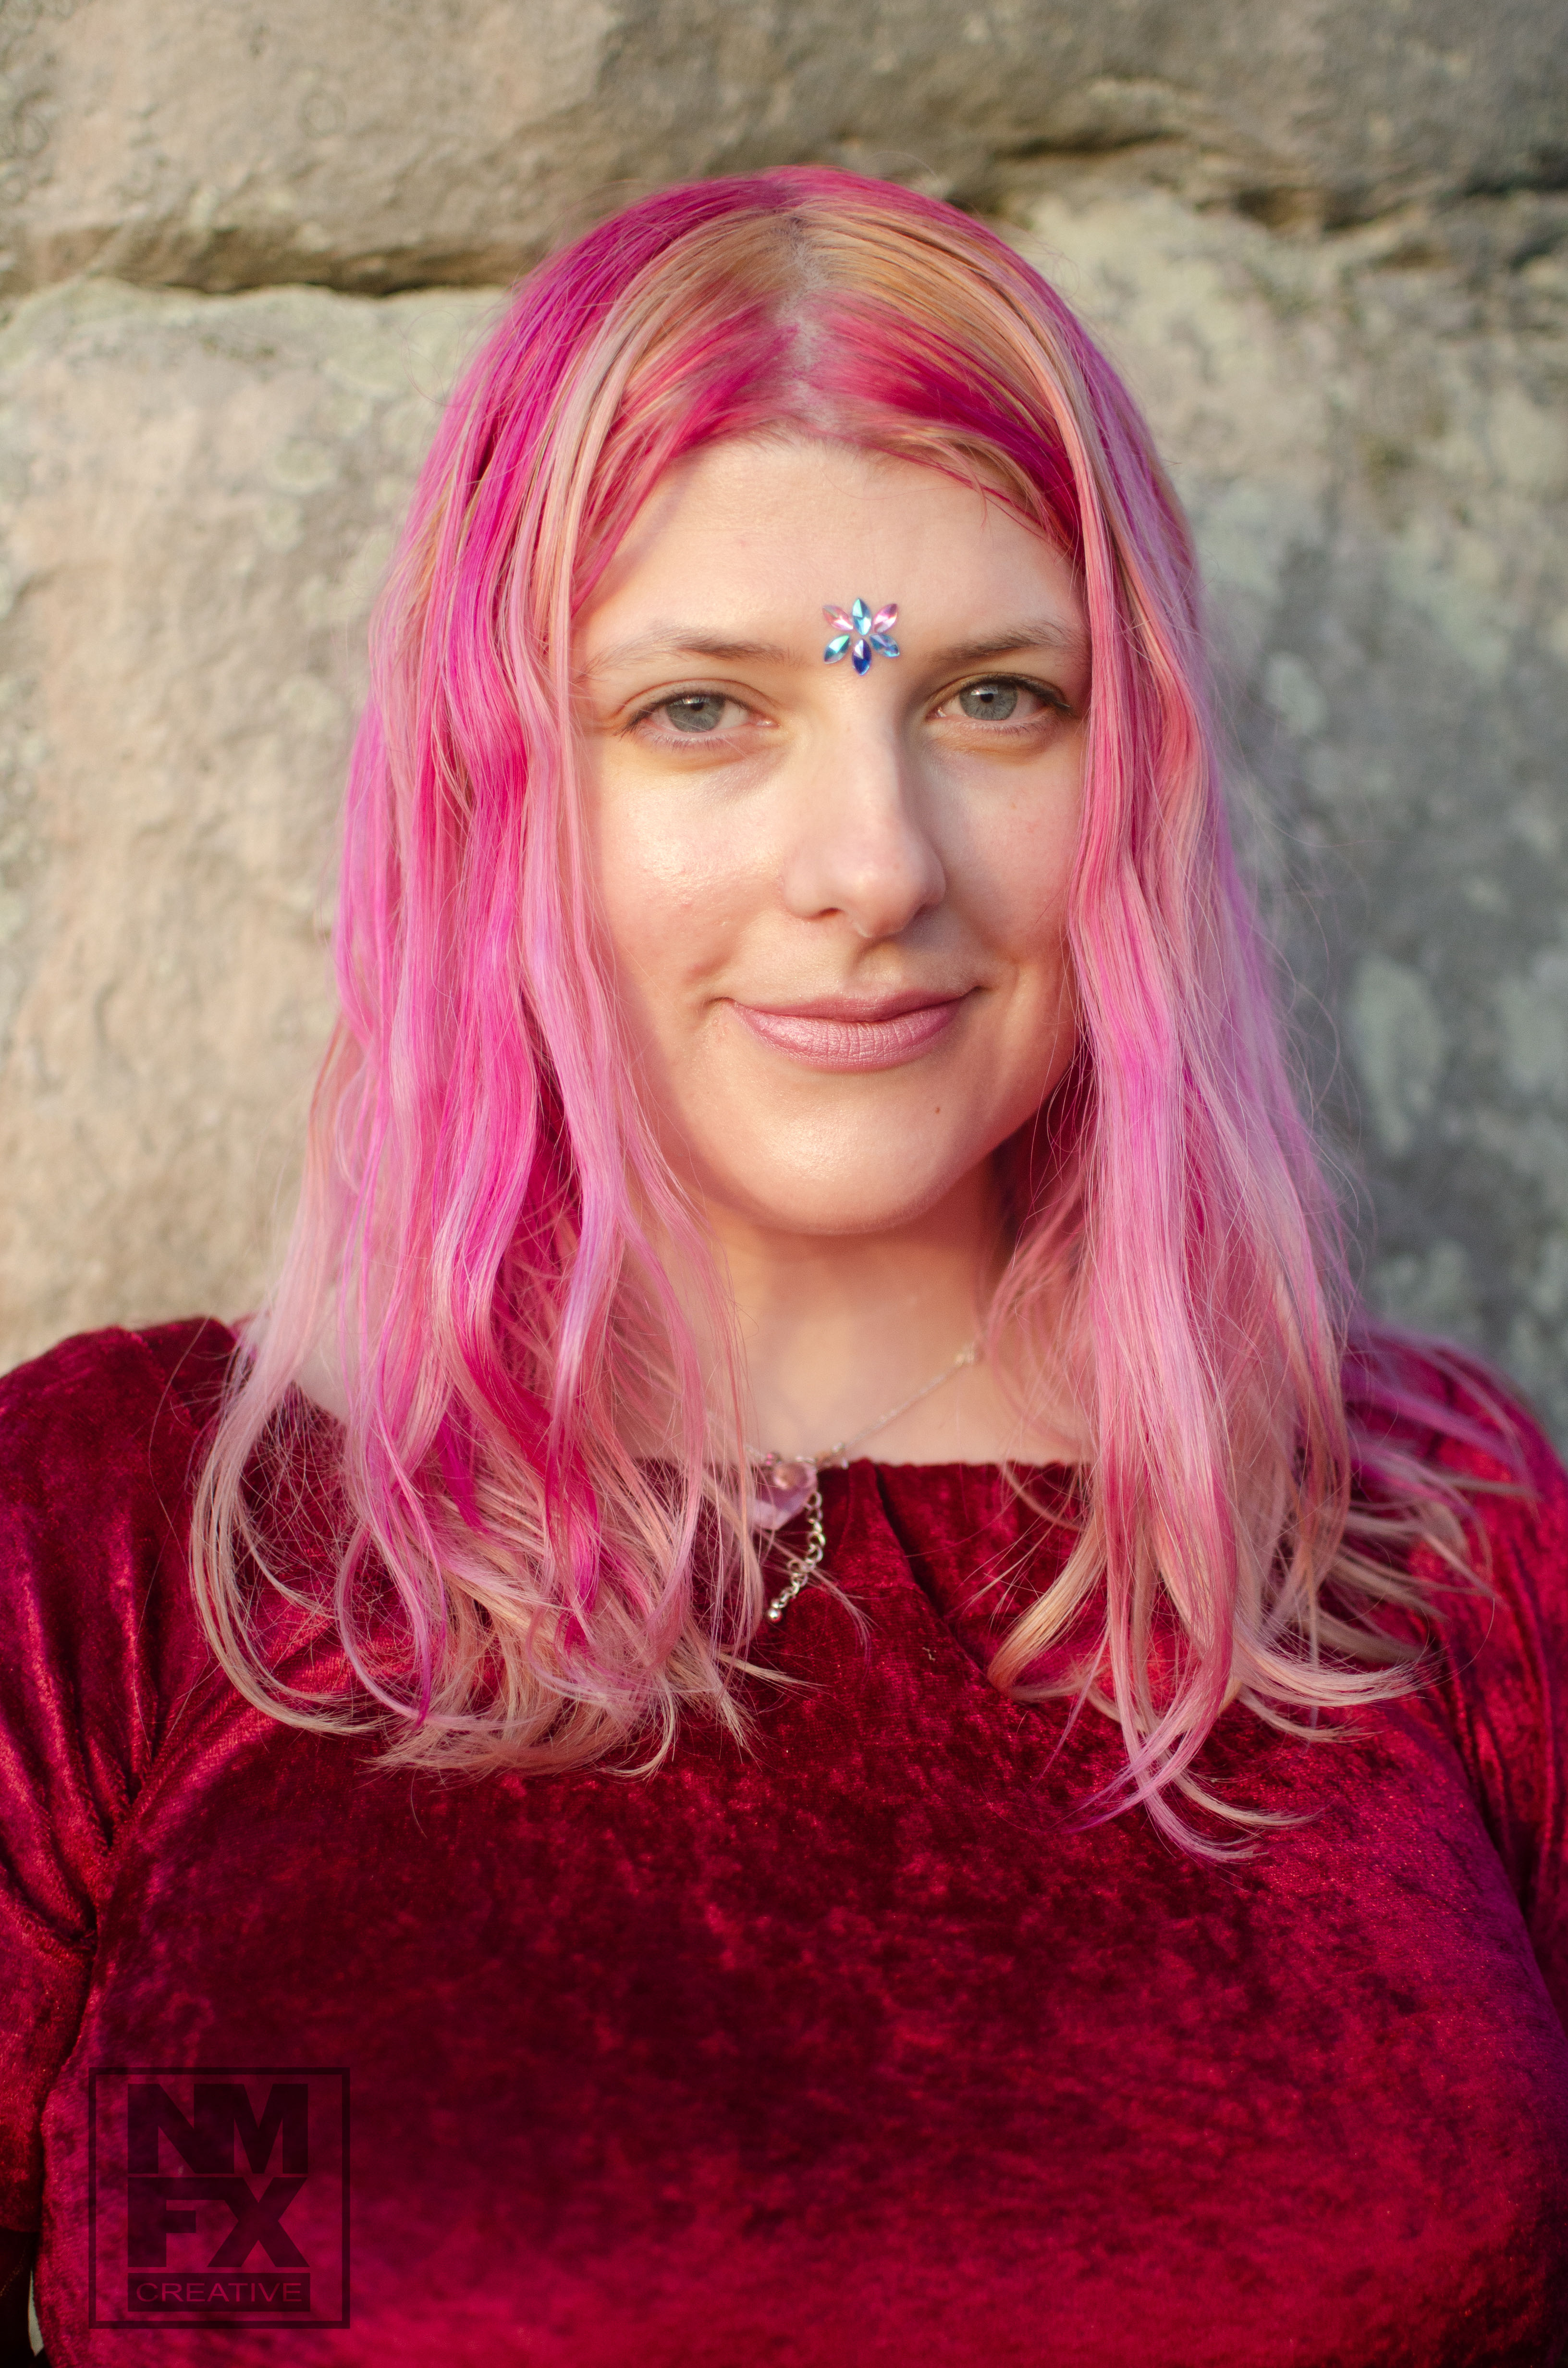
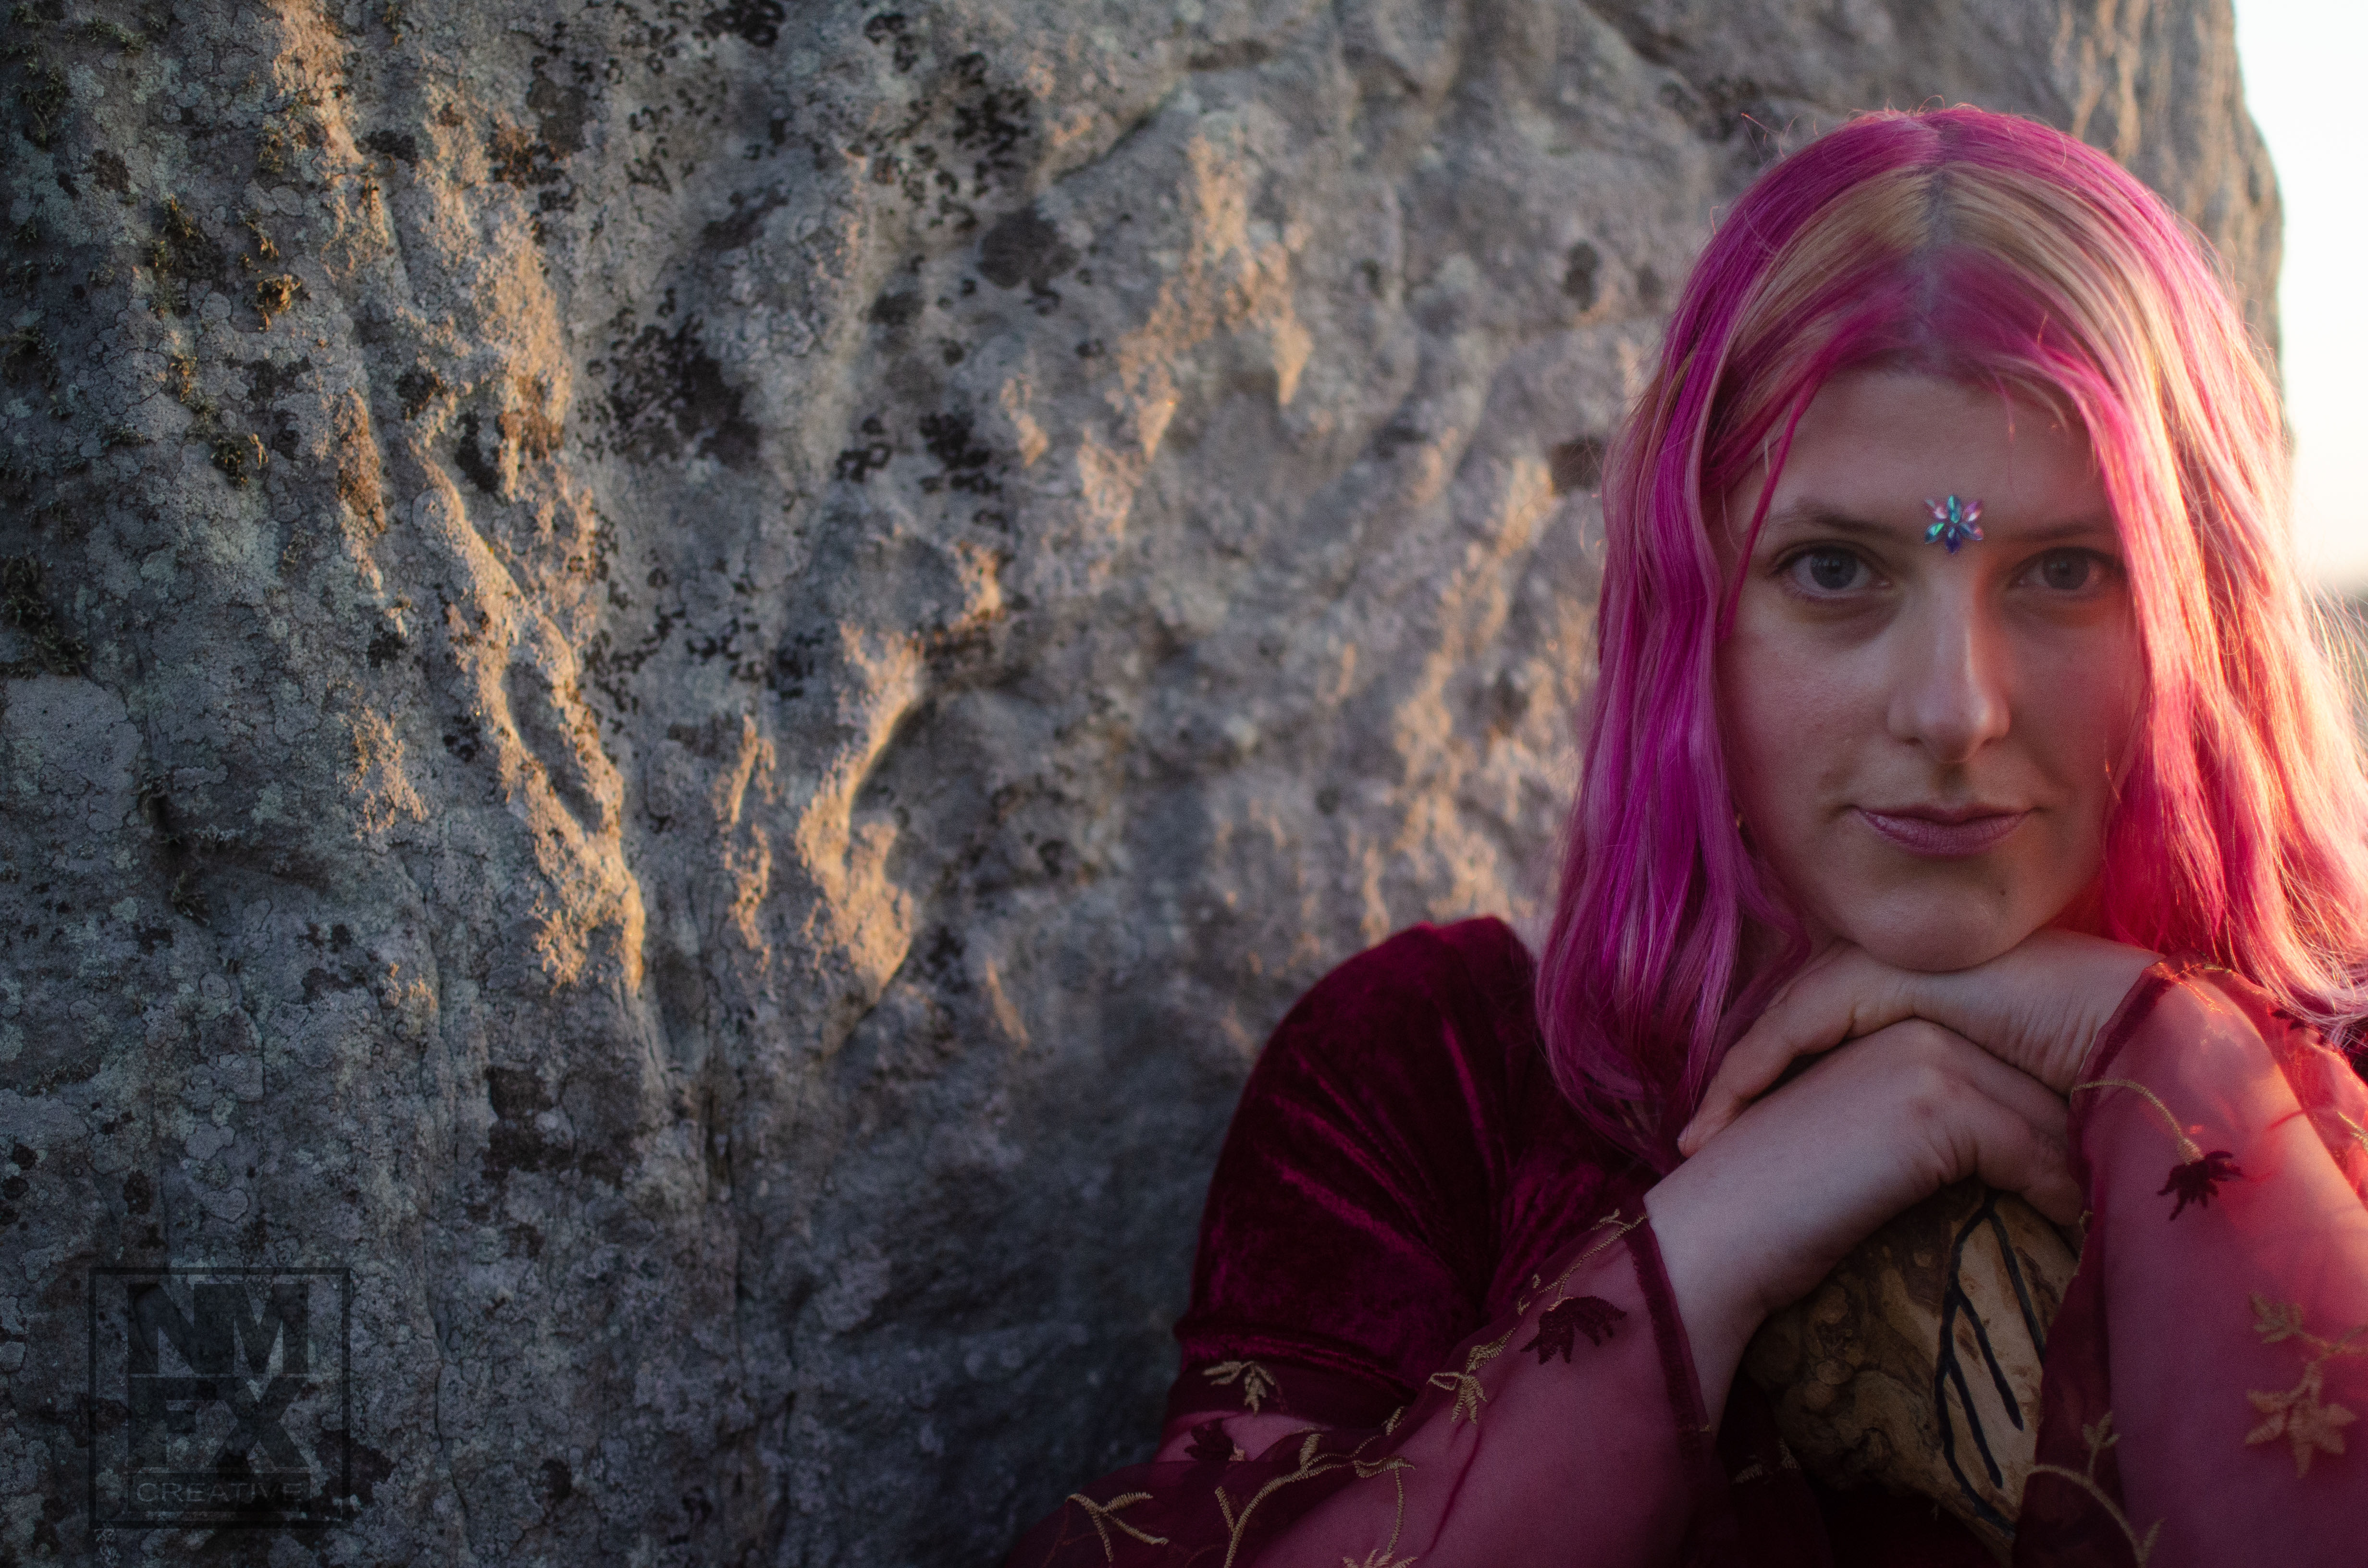
Equinox was designed as a portrait series and I knew the selected images would be retouched and edited to produce the final images.
The Edit
Back in the studio work began on the selected images. I edit every photo that is used. choosing the exposure and colour temperature, cropping and then developing the colours and contrast. When I know I will be doing further retouching work I like to keep the initial edits inside Lightroom to just the basic before opening the iamge up in Photoshop.
After making sure I am happy with the initial look of the image I start removing any unwanted details. In these images that was usually stray hairs in front of eyes or background detail. In a few of the images I wasn’t happy with the original sky so replaced with something that fitted the scene and feel i wanted to create better.
The next step in my fine art portraits is to even out the skin tone and skin texture as well as dodging and burning the image to add contrast, sculpt and contour the features and add definition as well as using light to direct and control where the viewer looks wihin the image.
The final part is to colour grade to fit how I see the final product in my mind. Becuase of the ccolour and texture of the early morning light I wanted to enhance this colour in the highlights and mids while develping the cyan and blues in the shadows to give a slight split tone to the final result.
Each detailed retouch takes several hours to complete but it does transform the original image and take it to a different level. This is an additional service I offer to my clients for those extra special images. If you want to know more about what I can do for your images please send me a message.
